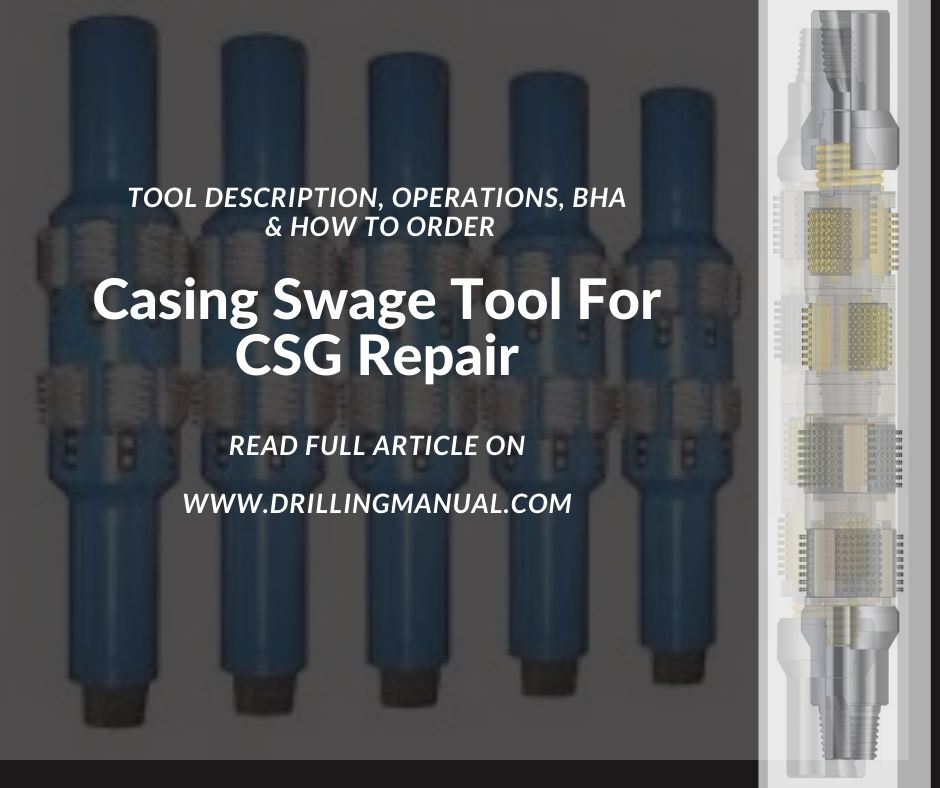
A casing swage tool will typically repair the casing & restore collapsed casing to its original ID. Swages are also used to make gauge runs to ensure the casing size (ID) is clear.
Tool Description
Swages are made of 4140-grade heat-treated steel. The tool is shaped like an ice cream cone. The long tapered nose forces the casing back to its original ID.
Each time you run in the hole, you will increase the swage tool size by 1/4″, which will gradually restore the casing ID to its original dimensions. The lead impression block will help you determine the swage size to use at the beginning of the swaging operation. When you run its assembly in the hole, you drop all of the work string weight onto the bumper jar, which then slams into the swage.
Suggested Bottom Hole Assembly For Casing Swage Tool
Below is the suggested bottom hole assembly for the subject job:
- Run a bumper jar above it. You can run a bumper jar that has 5 feet of free travel, which provides a good amount of momentum for the strike against the swage.
- Run an oil jar above the bumper jar in case gets stuck (pipe sticking) and you need to jar it loose.
- Run one drill collar between the bumper jar and the swage tool to prevent the jars from hanging up on the casing shoulder.

Operating Guidelines
- Do not lower the jars below the bad spot in the casing. Circulate to prevent sand or debris from accumulating.
- Increase the swage tool OD by 1/4″ on each run so that on the last run, it becomes equal to the drift ID of the casing.
How To Order the Casing Swage tool
You shall specify the following to help your fishing contractor choose the applicable size and design:
- Top Connection
- Size & weight of casing to be swaged
- OD of body
- The diameter of the Fish Neck
- OD of Swage